Quick Guide
Install as Orange 3 Add-On
The fastest way to get started is by downloading the wheel and adding it to an existing Orange 3 installation. Orange 3 is a Data Mining and Analysis application that aims to provide easy and intuitive access to advanced analysis algorithms. For more options for installation, please refer to the Installation Guide
Install
Assuming you have Python installed already, just install Orange3 and InspectorCell:
- If you haven’t Orange 3, you can find it on their Orange 3 page
- Download the latest InspectorCell wheel (*.whl) from the releases
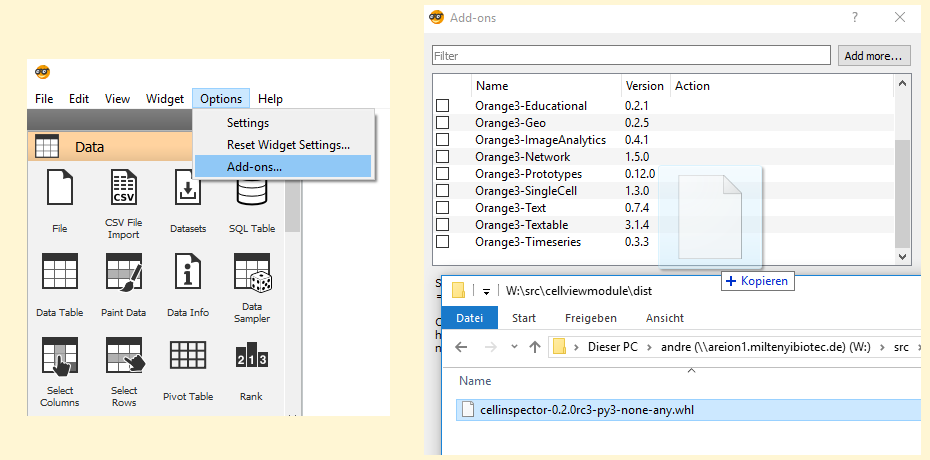
- Open the Orange 3 Options->Add-Ons menu
- Drag & Drop the wheel into the list
Load Images
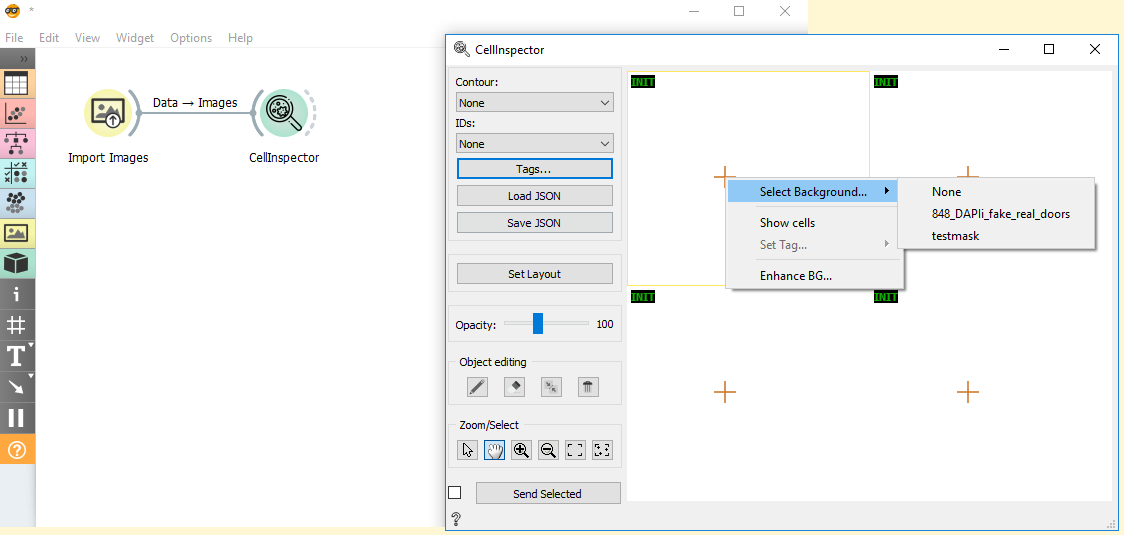
To load images, you can use the ImageAnalytics Node. Connect it to the Images input of the InspectorCell node. Now with a double click on the inspector cell node, you can start editing your images.
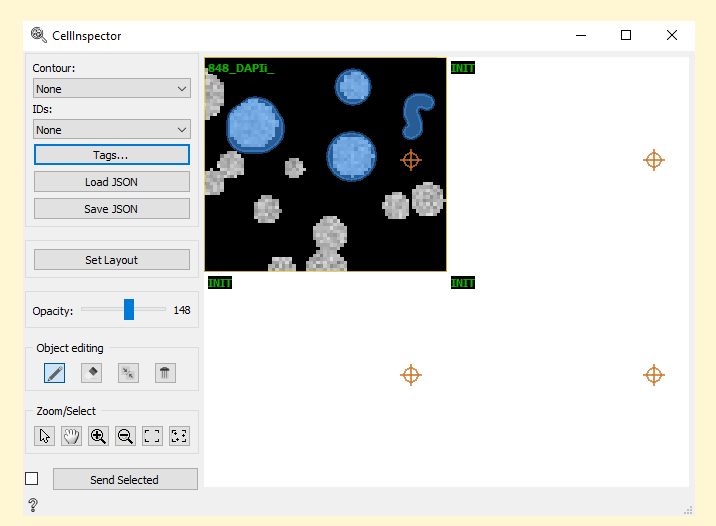
With the button Set Layout, you can configure how many channels are shown. For this example, we stick with the 4x4 layout.
Within any channel, click with the right mouse button to load a backgound image. Here, we select a mock image. The yellow frame around the channel always shows which channel is the active one.
With Enhance BG you can change the contrast of the displayed image.
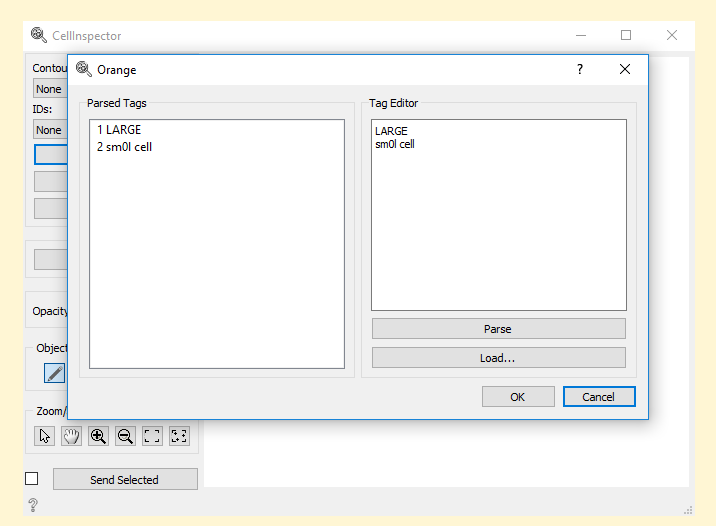
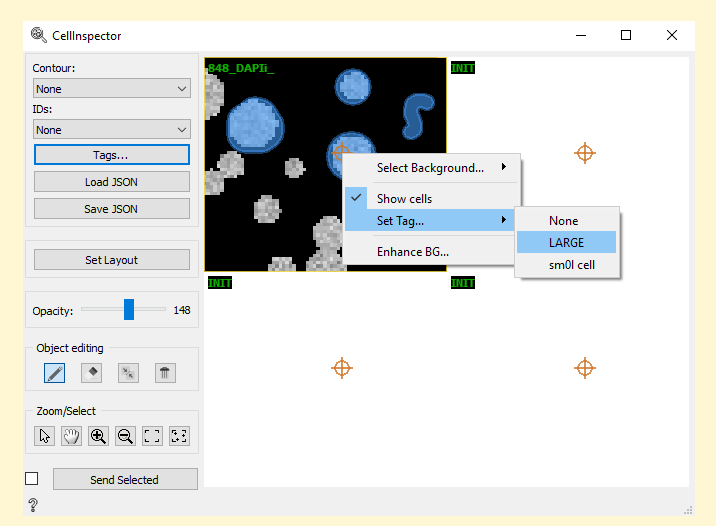
Basic Annotation
With the mouse wheel you can zoom in and out. Clicking the mouse wheel /
middle mouse button allows you to pan. Pressing d switches to the draw mode.
Alternative, you can click on the pencile in the left sidebar under
Object editing Please see Controls for a comprehensive overview.